Skip to content
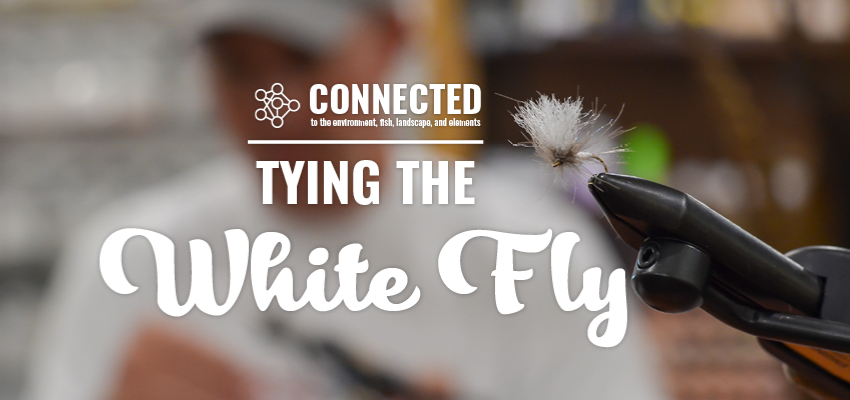
Tying the White Fly: The Tighty Whitey

Tying the White Fly: The Tighty Whitey

With summer in full swing, I found some time to start working on what I hope will become a series of monthly fly patterns to share on Connected. Considering the time of year and the local waters surrounding where I live, the obvious choice for August is the famed white fly.

The white fly (Ephoron lukeon) is a very prolific light cream-colored mayfly that hatches in huge numbers along the banks of the Susquehanna River and a few of its tributaries. The most notable of these tributaries is the Yellow Breeches. Like most things in nature, nothing is absolute, but towards the end of July beginning of August the hatch will start on the Breeches and can last 3-4 weeks. This is one of the last “hatches” of the season on our waters. It provides consistent, at times challenging dry fly activity for 2-3 hours each evening well into dark to close out the summer!

If you have ever fished the white fly in our area or read about it, one fly pattern is synonymous with the hatch; the White Wulff. The pattern is time tested, floats well, most every shop carries them, and they work! What the Wulff is not (for me at least) …quick and easy to tie!  I wanted to tie a pattern that; sits flush on the surface, takes advantage of some newer materials and the qualities they bring while weaving some “euro properties” into this pattern that help it stand out in a crowd!

The end result: Tighty Whitey 

Material List:

  • Hook, TMC/TCO 100 in size 10-14
  • Thread, 14/0 Veevus in white
  • Tail, CDL in Light Speckled Pardo
  • Hot Spot, Glo Brite Floss #11 (FL Yellow Chart)
  • Rib, Iridescent Veevus Thread in pearl
  • Body, Super Fine Dry Fly Dubbing, in white
  • Thorax, TroutHunter CDC in cream
  • Thorax, SLF Prism dubbing in tan
  • Wing, EP Trigger Point fibers in white   

Materials explained:

I choose CDL for the tail; the color, speckling and glassy appearance of these feathers enhance the appearance of any dry or nymph pattern plus the fibers are extremely durable.
Glo Brite #11 for the hot spot at the rear. Hot spots are nothing new and becoming more frequent even with commercially tied flies. I feel they are equally as effective on dry fly patterns and have worked a “trigger” into just about all the variations I personally tie!
The body is just a simple dubbed body with a standard dry fly taper and ribbed using pearl iridescent thread. Normally, flies are ribbed to give an appearance of segmentation or to strengthen a fragile material such as pheasant tail. In this case I wanted the profile of a dubbed body without the density or weight of just building up the iridescent thread itself. Hence a dubbed underbody with almost touching turns of the rib.
The thorax is a CDC sandwich of cream CDC top and bottom with tan SLF Prism dub in between. CDC is like special sauce when it comes to dry flies in my opinion… the fact that it naturally floats, traps a few air bubbles, and moves in the water brings the pattern to life in my eyes! I really like the effect mixing CDC and flash creates once spun in a dubbing loop. This is not a new concept in any way, just a carryover from collars on many euro nymph patterns. However, the green glint from the pearlescent fibers or the purple hue from the UV fibers add one more variation to the pattern that can prove deadly when in the right combinations. 
I selected EP trigger for the wing material for several reasons. Most importantly when tied in as if it were deer hair on a comparadun it provides an effective profile for the pattern, but the flat, white silhouette also aids in locating your fly amongst the others in low light conditions. As a synthetic, it will not absorb moisture and is pretreated to float.   
*Note: the use of a hot spot, iridescent rib and wisps of flash in this pattern are a few ways to add subtle contrast, introduce color, and flash that maintain the size, shape and appearance of the suggested pattern while giving yours just that unique look to stand out in a crowd of white flies!

Tying Steps


Starting with the hook in the vice, tie the EP fibers over the hook eye. Secure the EP to the hook leaving 2 hook eyes in length so that you can get a few wraps of the dubbing loop and not crowd the eye. 


I prefer to use the glo brite in a bobbin as thread for tying in the CDL tail. It provides better control, less wraps and lets you keep the hot spot clean. I use a few half hitches to tie off the glo brite and also take a few seconds and hit the bump with a bit of head cement.   


Using the white thread again, tie in the rib and use a small amount of dubbing to create a thin noodle. Build up a tapered body and finish with just shy of touching turns of the rib. 


The thorax is created using the CDC and ice dub mix in a dubbing loop. I like to get 2-3 turns in back of the wing and 3-4 turns in front. Once tied off I will use a small piece of velcro to comb out the CDC up into the wing.   


Thank you for taking the time to read this. I hope you enjoyed and look forward to feedback or questions!
 
Kalvin Kaloz
kalvin@tcoflyfishing.com
TCO Boiling Springs - Web Team
To read more about Kal click here.
Previous article Night Fishing The White Flies
Next article New Product - FullingMill Hopper Box

Comments

Michael R Horst - October 8, 2021

Love it and I’m very interested in this fly. I would love to see a video tutorial on tying this fly if ever possible.

Brad Firestone - October 8, 2021

Great looking fly! Picked up the materials to tie some up. The written directions are a little tough to follow along. A video to tie along to would be amazing! You tie the wing in first, then do the hot spot? And what is the clip you are using to hold the materials for the dubbing loop? Looks like that would be very handy! Pretty happy with how my first one came out, but will definitely be tying a few more in different sizes for practice. Thanks for the share!

Hal Beaver - October 8, 2021

Like your materials,
Hal

Leave a comment

Comments must be approved before appearing

* Required fields