By TCO Boiling Springs Staff and Relentless Fly Fishing Guide Jacob Gilliland
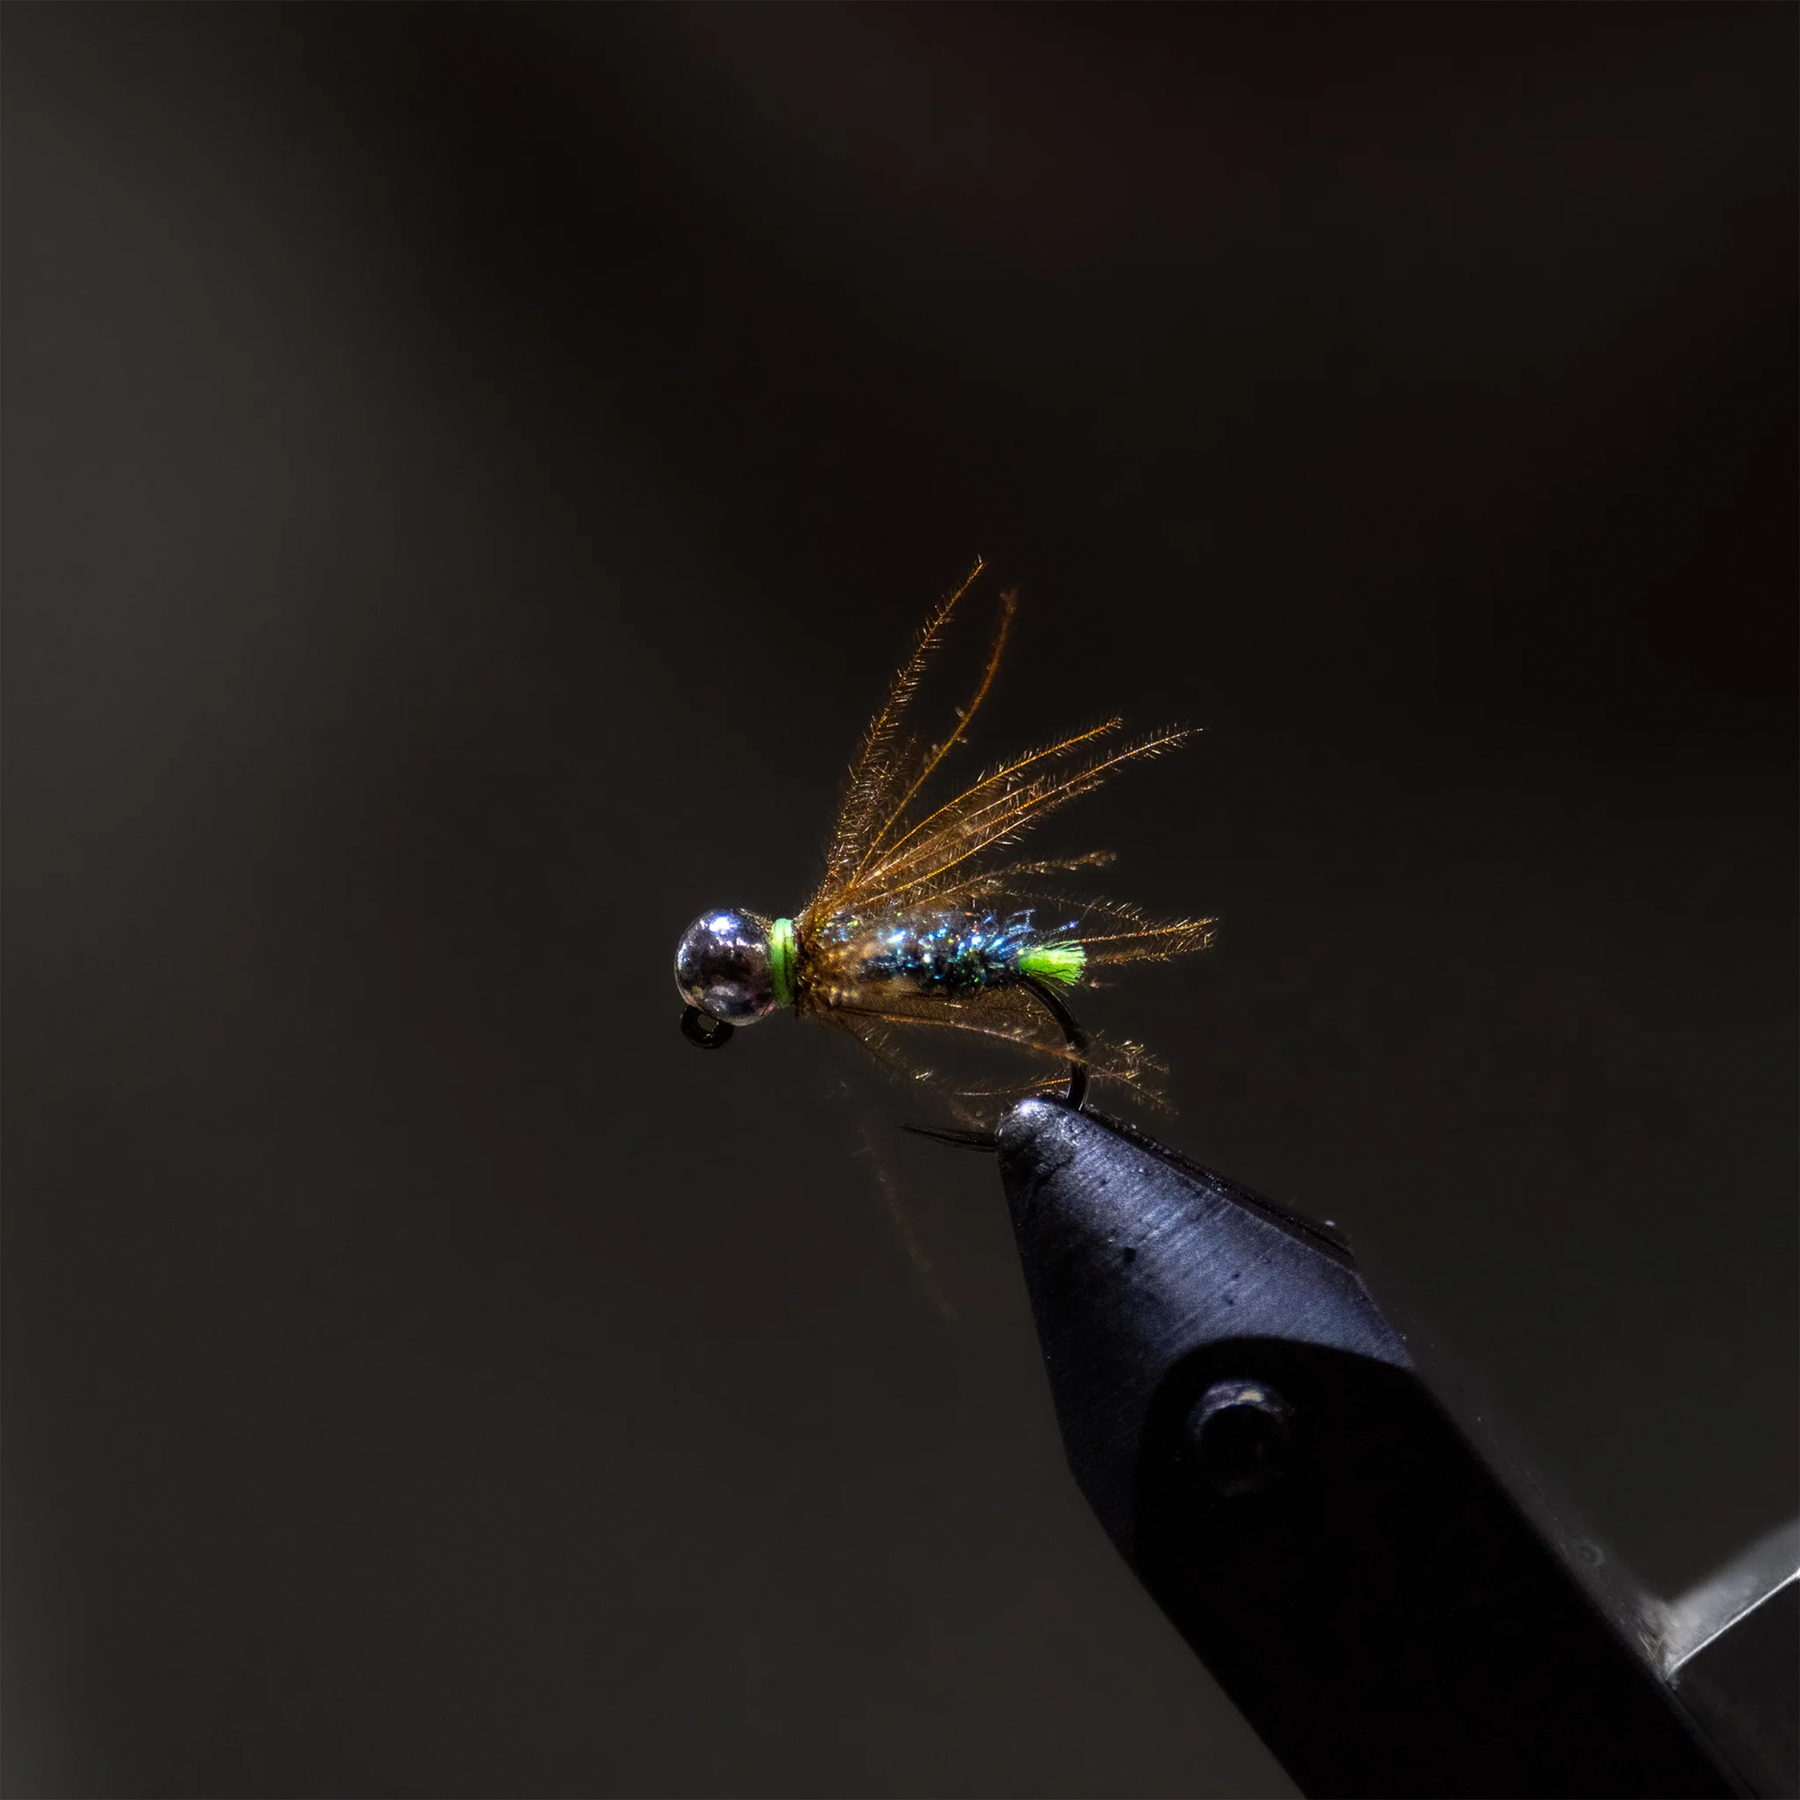
How to Tie a Green Blowtorch
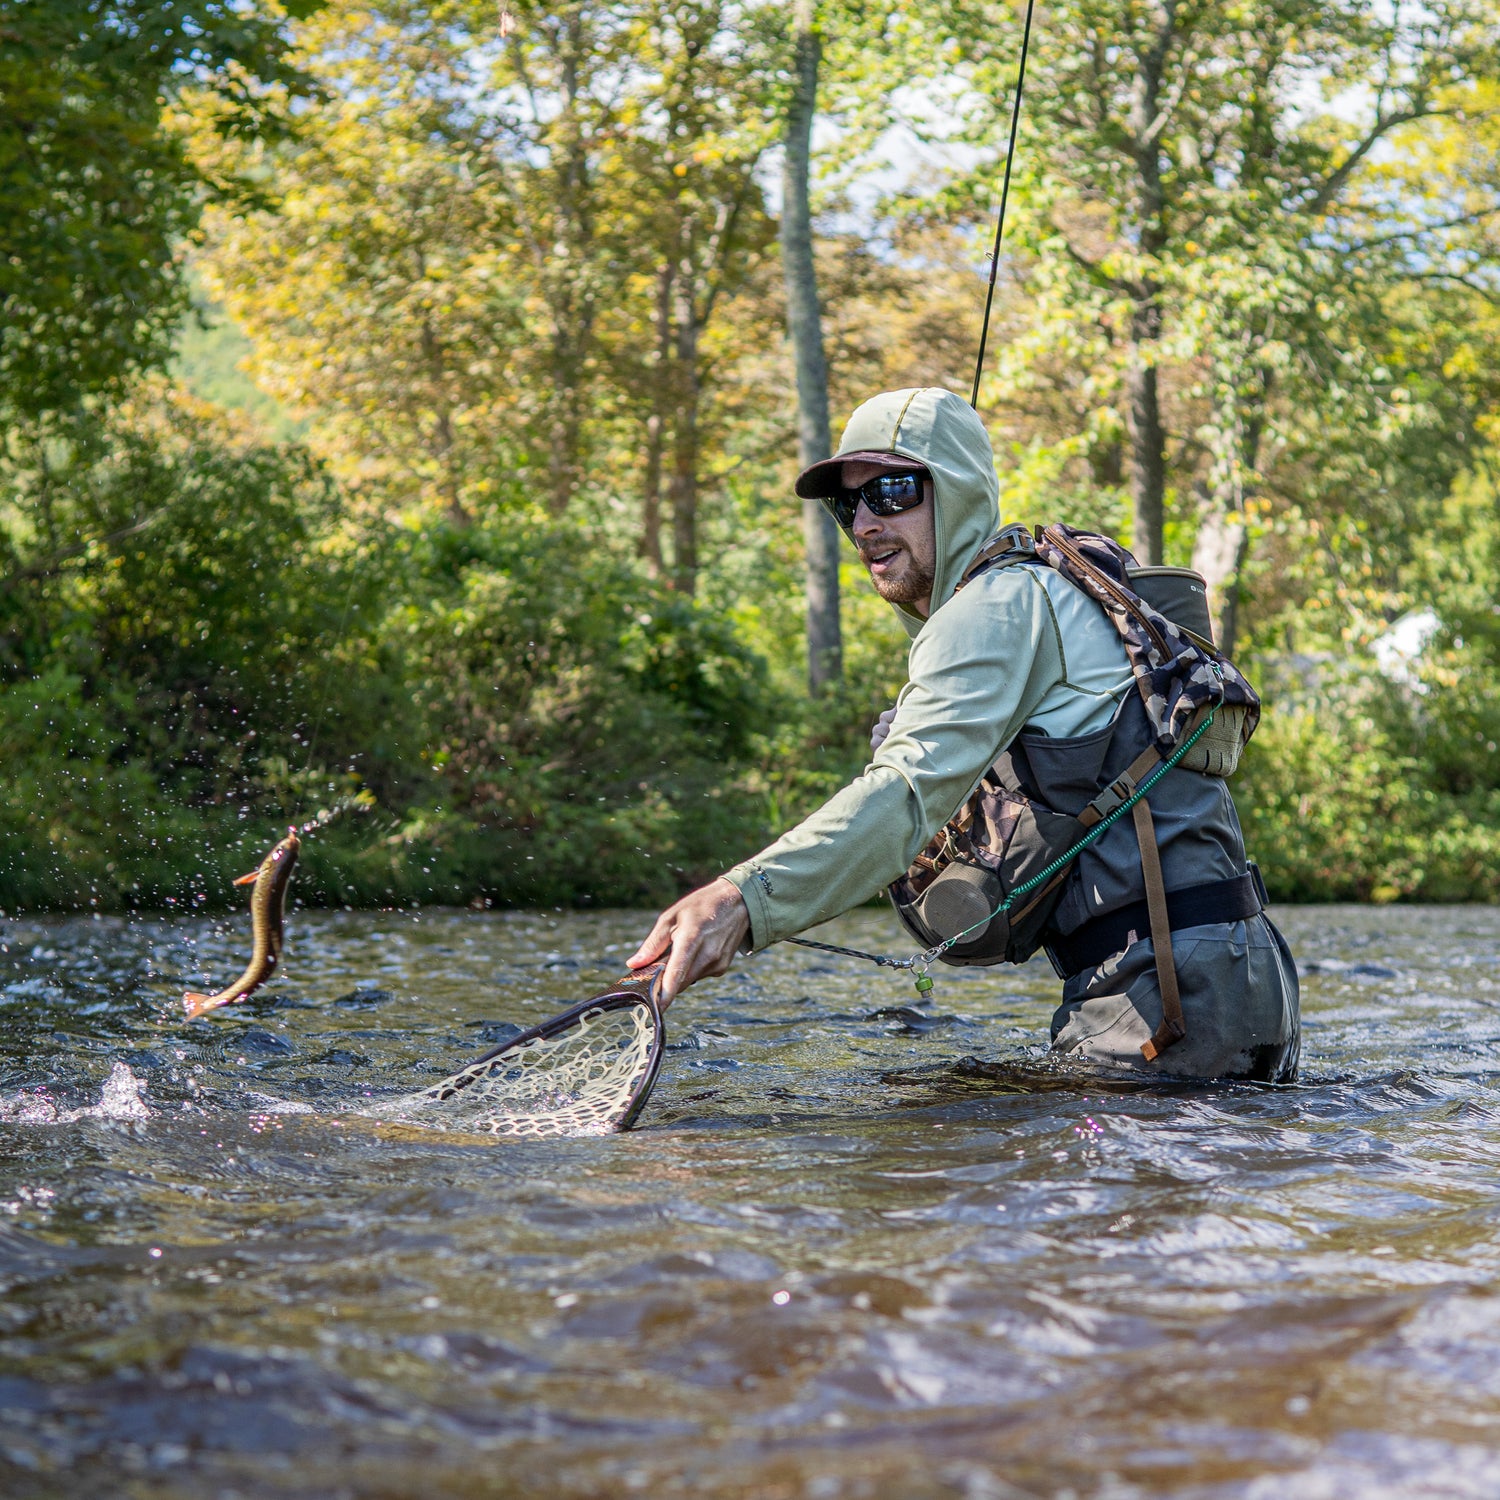
TCO Fly Shop Staff and Relentless Fly Fishing Guide Jacob Gilliland on the green blowtorch:
The green blowtorch without a doubt is one of my top producing caddis imitations and all around attractor nymphs. I always carry at least a dozen of these in my box and feel very confident fishing them anywhere caddis are present, especially cased caddis. One of my favorite hatches to fish in the spring is the Grannom hatch and this fly should suit you well for catching trout starting to key in on freshly emerging caddis wiggling free from there temporary, tubular homes found underneath rocks and woody debris. I almost always fish this pattern in a size 16 but this fly can be fished effectively in sizes 14-18, depending on the hook that you choose to tie with. I really like the way the materials work together on the fly to give a lifelike appearance and movement. From the peacock prism dubbing, to the subtle hint of flash and segmentation, to the cdc, this fly is a real winner. Go fish this pattern on your local waters.
Pictured: Jacob Gilliland Netting a Brook Trout
Recipe
- Hook: Fulling Mill Jig Force Size 16
- Bead: Hareline Slotted Tungsten 3.3mm silver
- Thread: UTC 70 Fl. Green
- Tag/Tail: Glo brite floss #12
- Rib #1:UTC small sculpin olive wire
- Rib #2: 1/100 Opal Mirage Micro Flashabou
- Body: SLF Prism Peacock dubbing
- Collar: Fulling Mill Cinnamon CDC
- Hot Spot: UTC 70 Fl. Green
Step 1
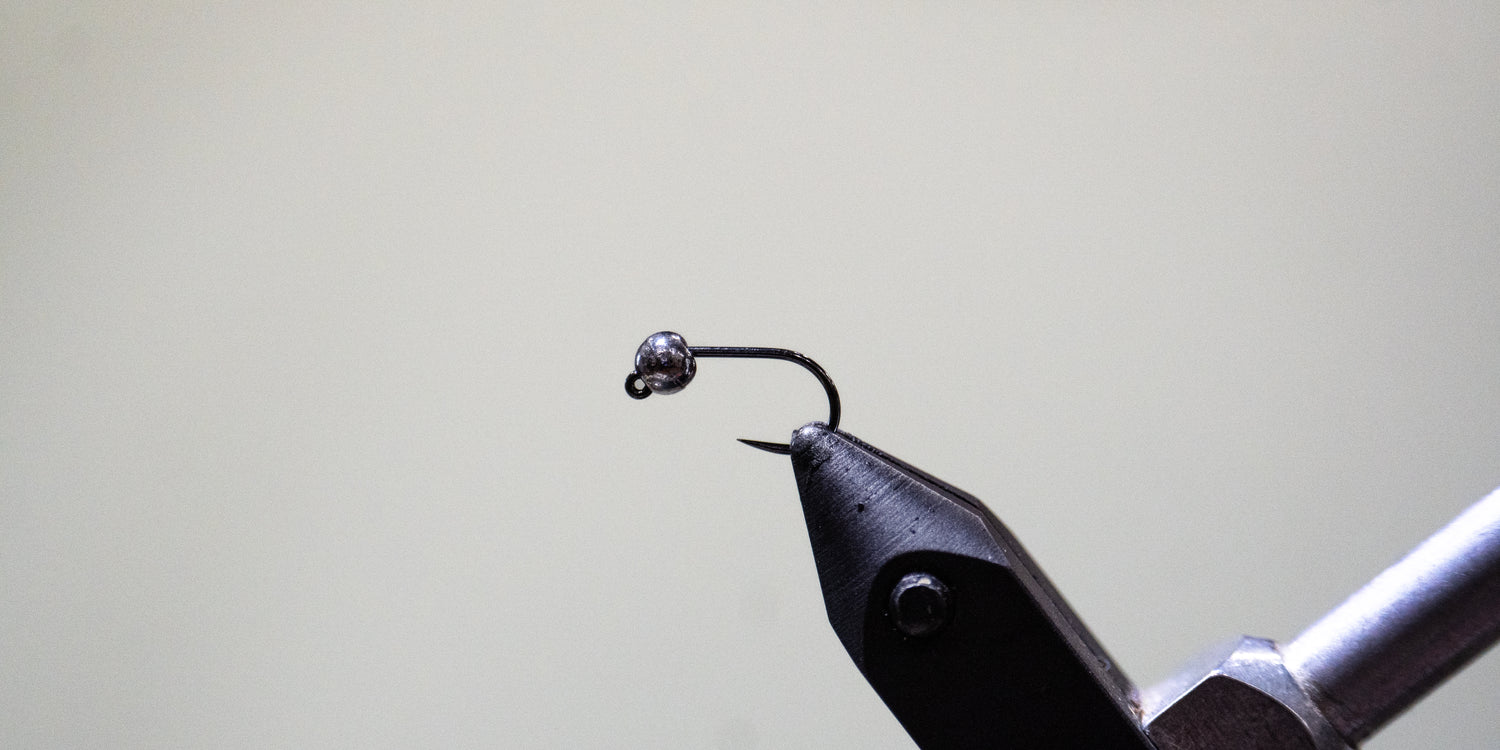
Place the bead unto the hook small hole first and place it onto the jigged portion of the hook shank. Make sure the rounded side of the slot is facing up and not the squared off side.
Step 2
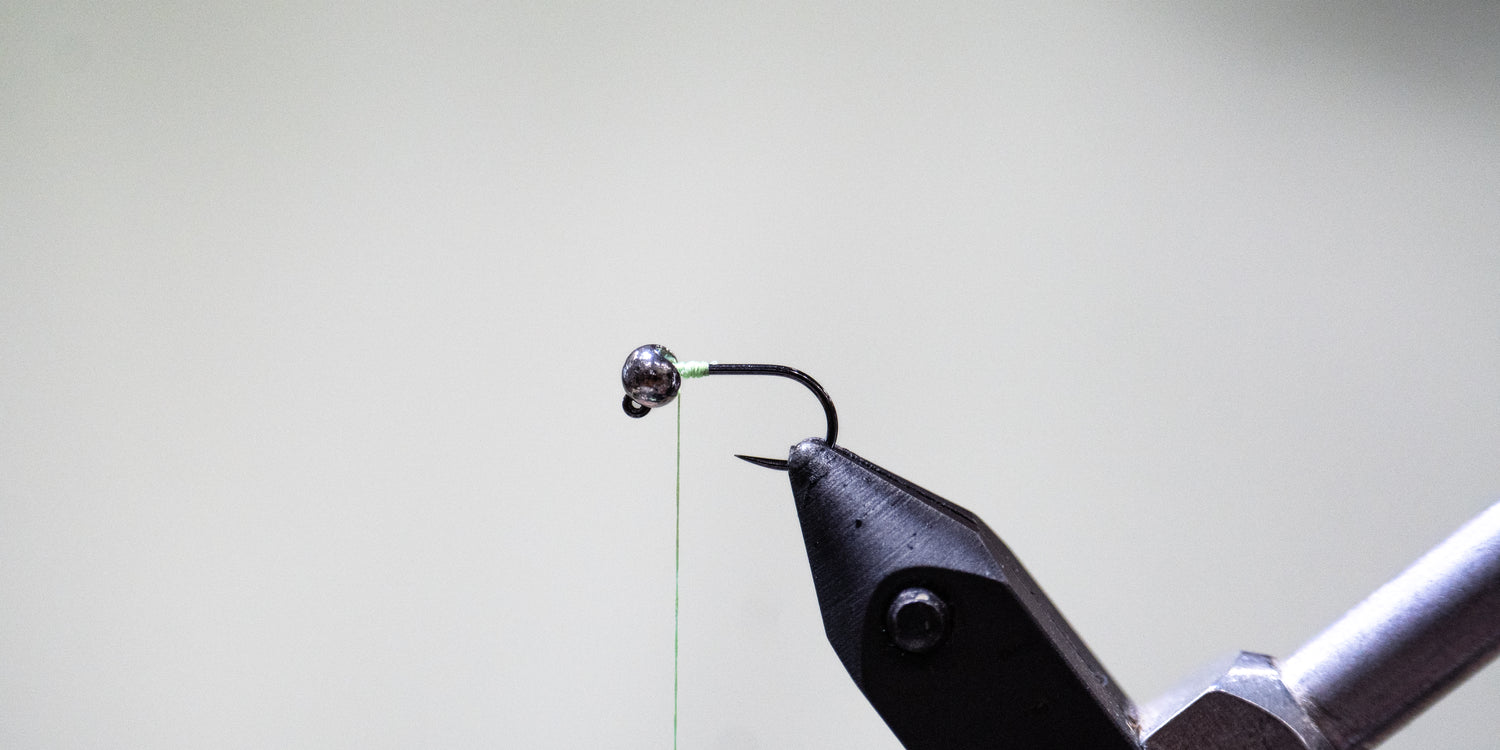
Secure the thread to the hook with a couple of tight wraps. Cut the excess free.
Step 3
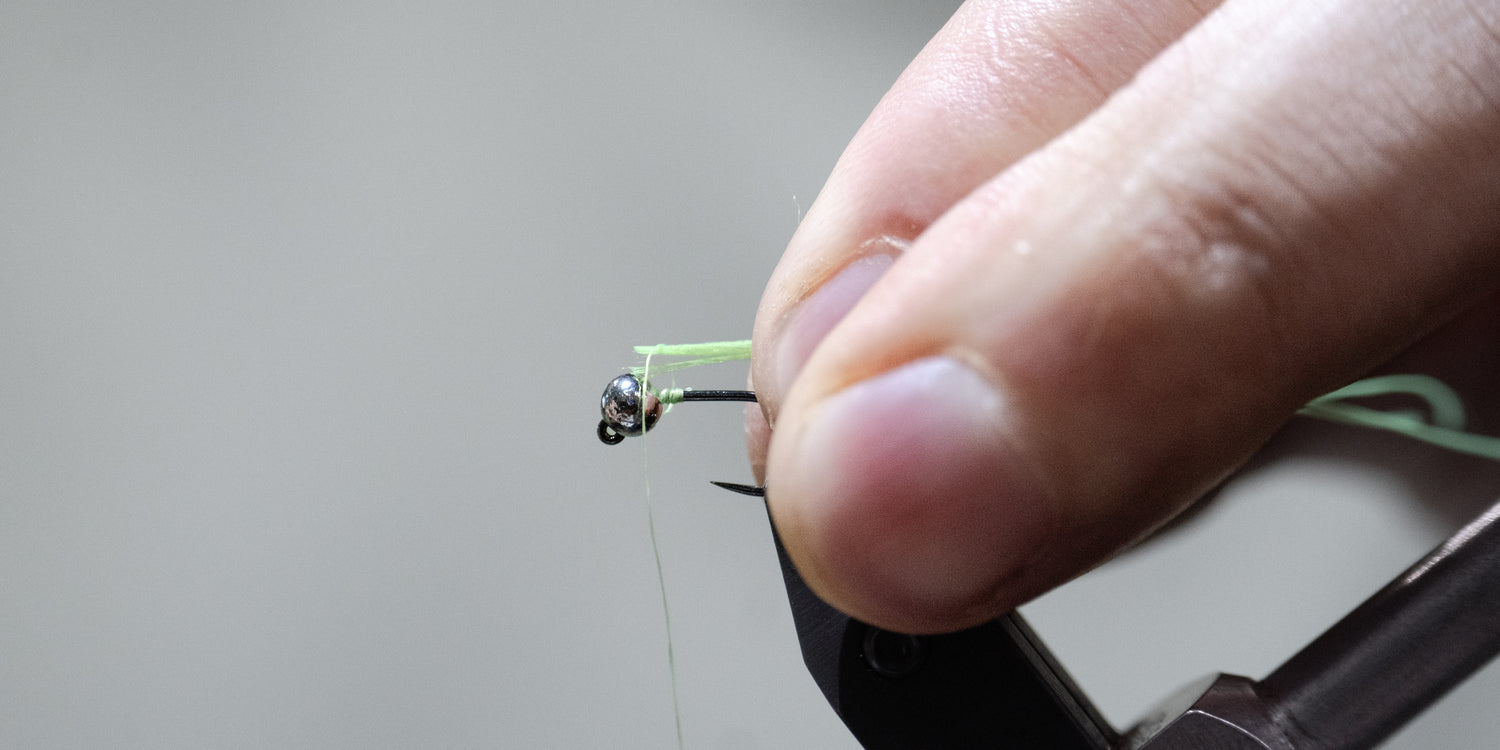
Take three strands of #12 glo brite floss and secure right behind the bead with a few tight thread wraps.
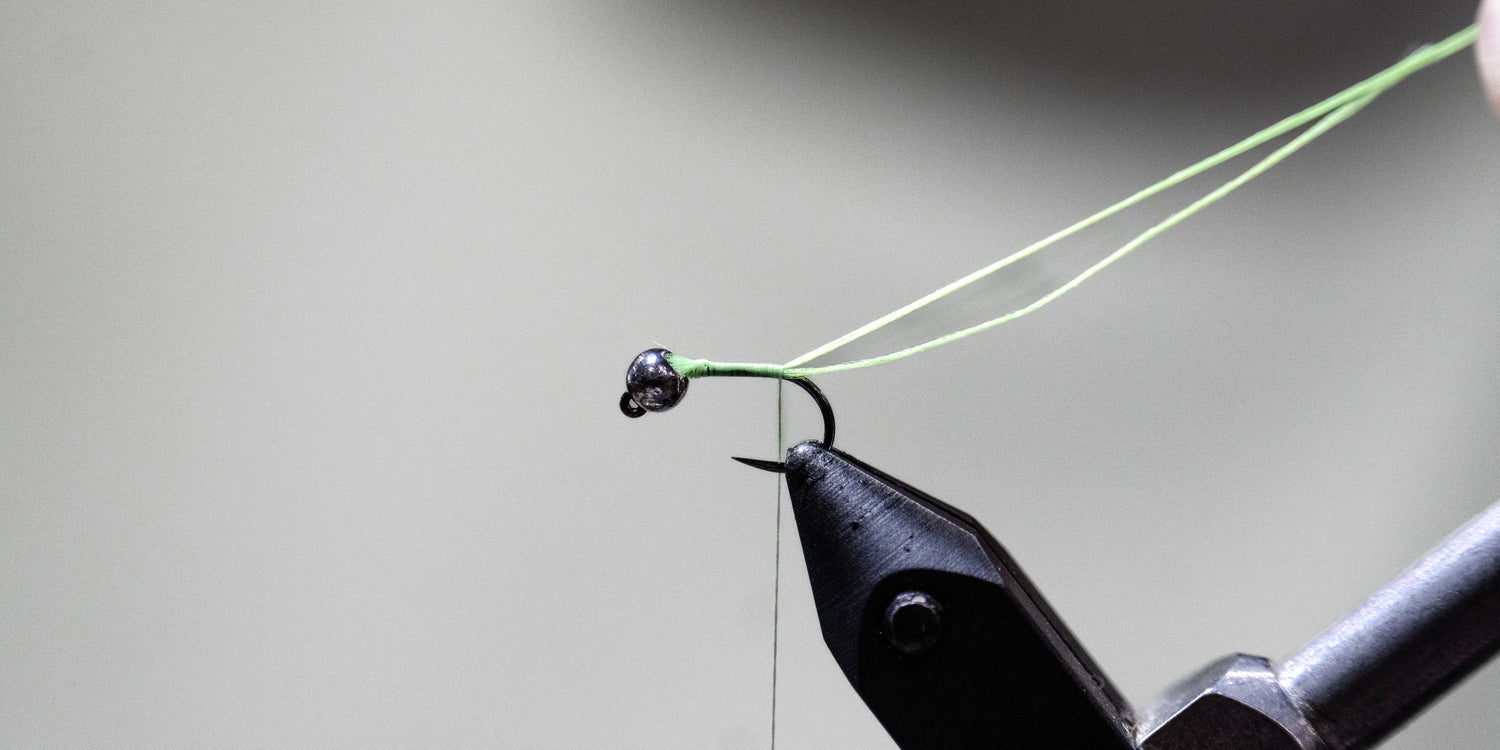
Continue to wrap the floss back to just shy of the bend of the hook.
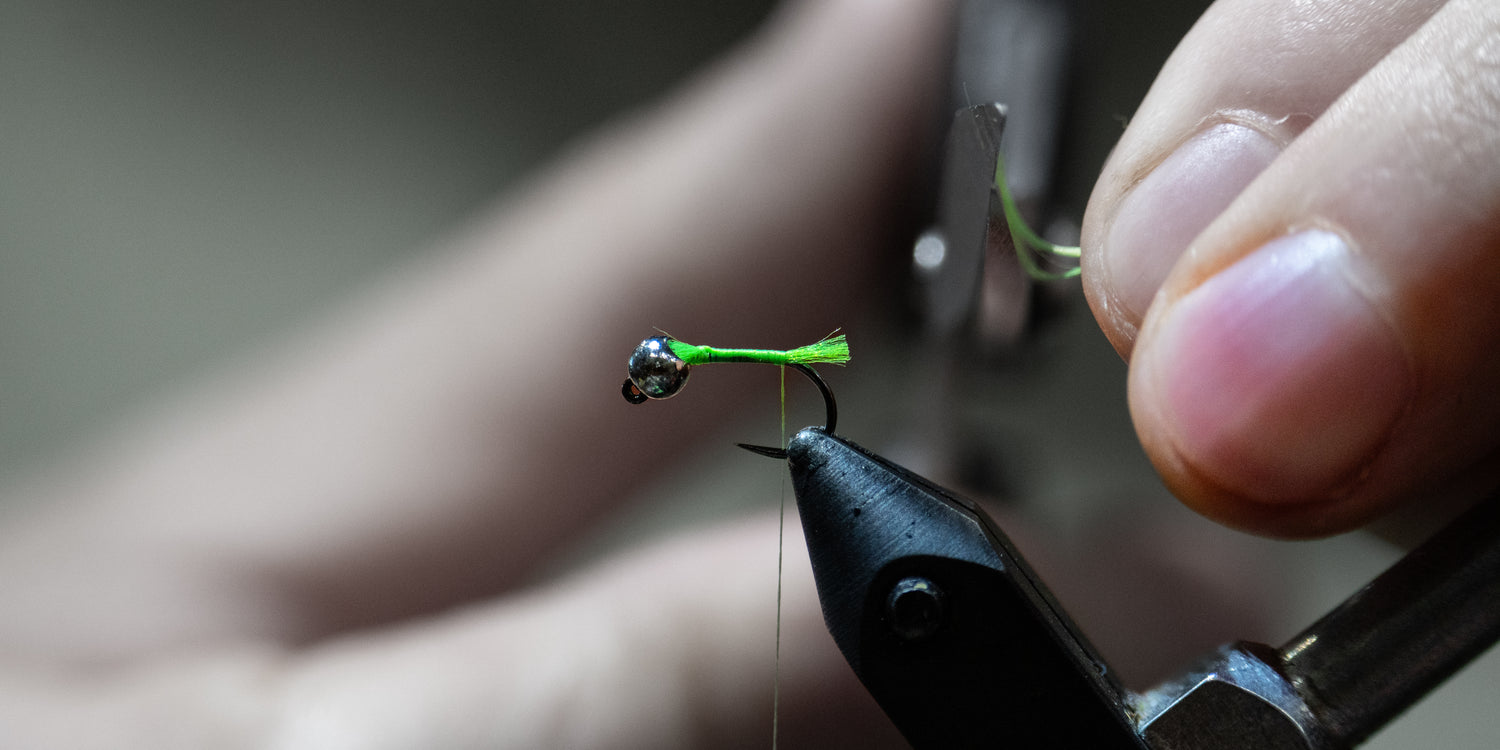
Cut the floss to form a short hot spot tag that’s even with the back edge of the hook bend. Wrap your thread back to just behind the bead.
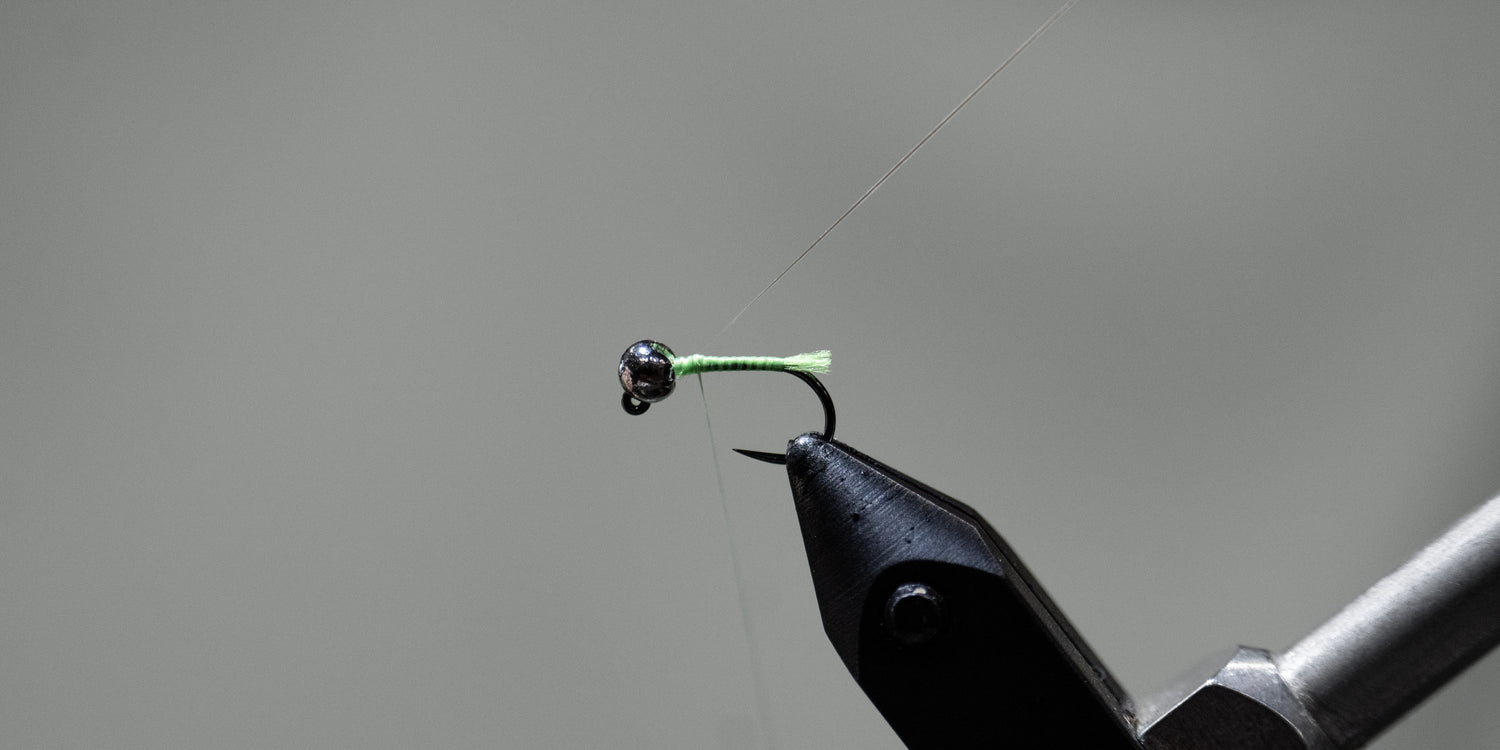
Step 4
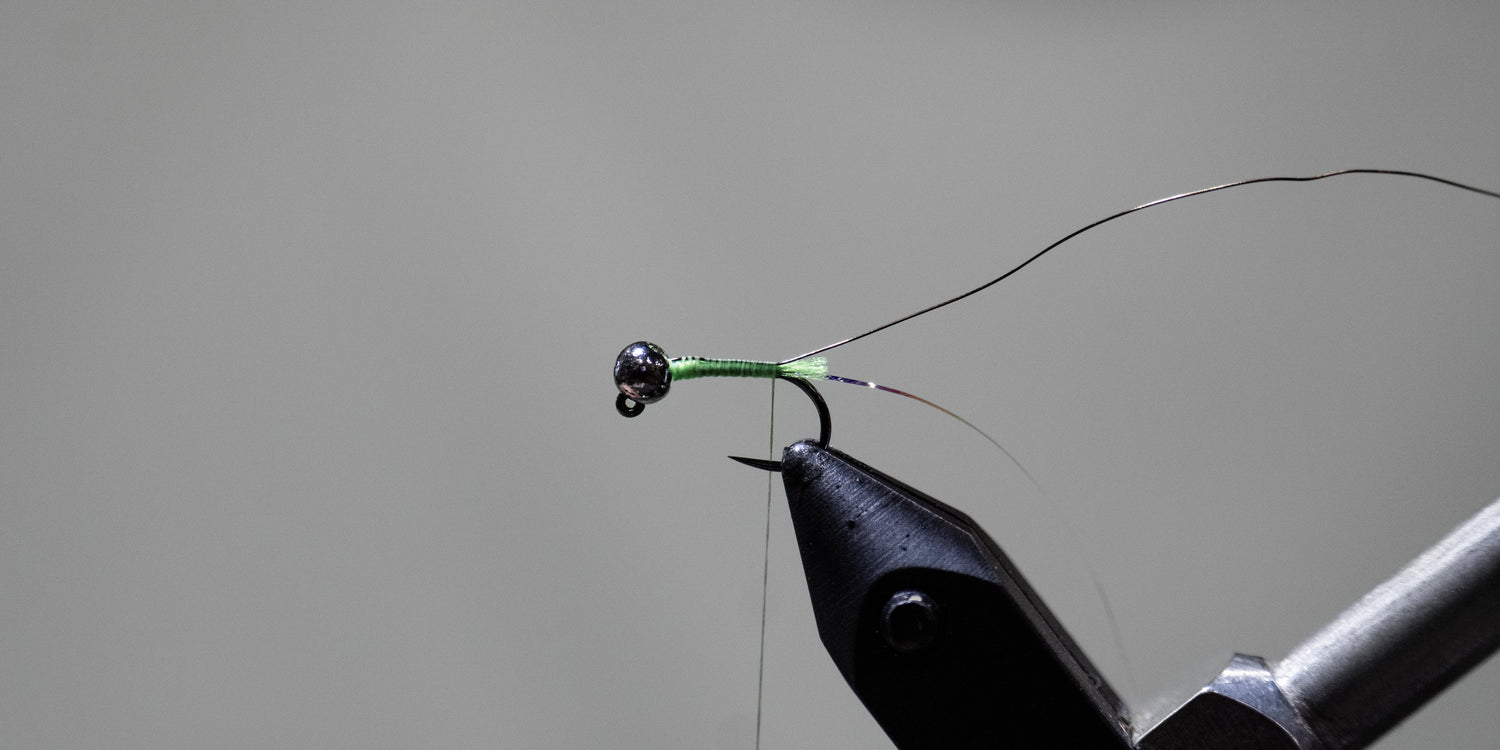
Tie in a piece of micro flashabou to the near side of the hook with just a few wraps.
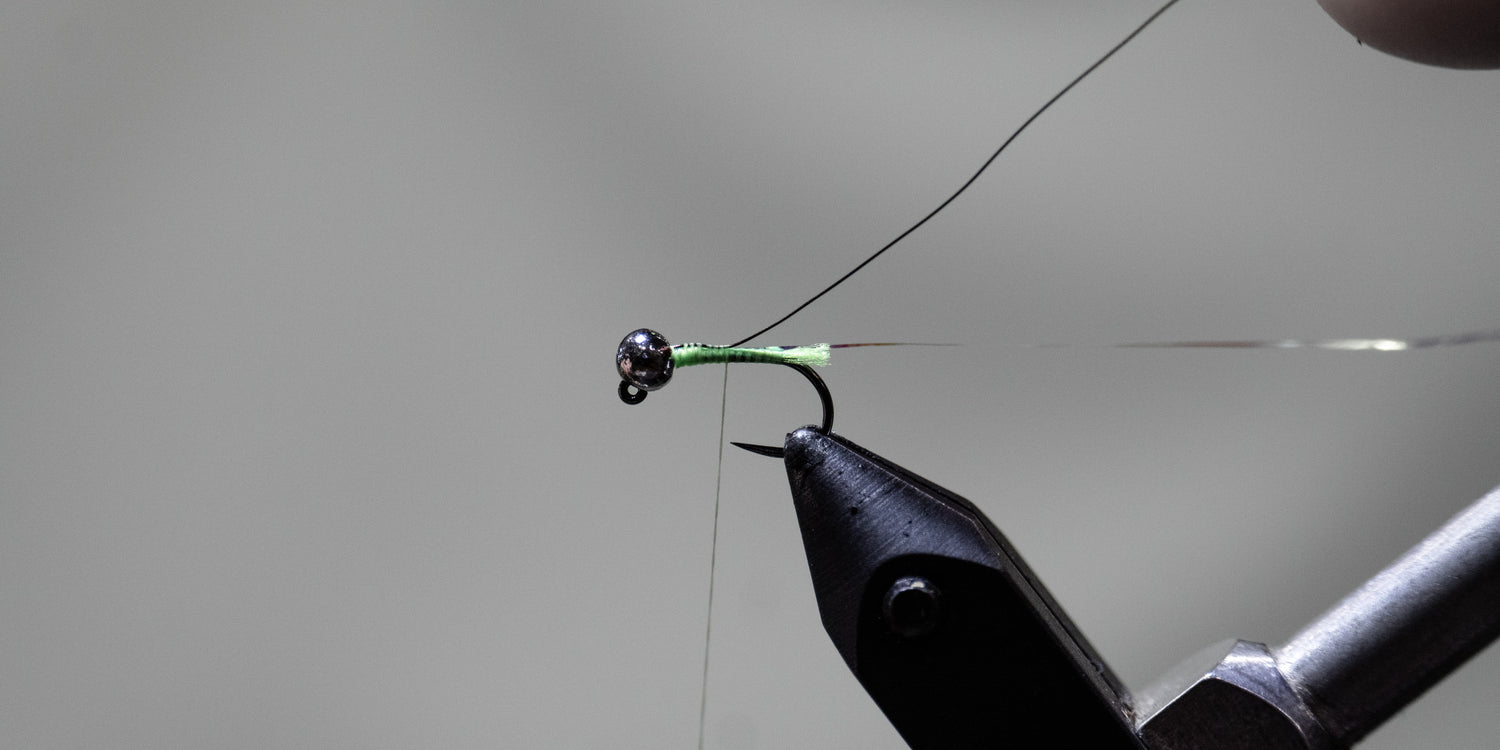
Step 5
Tie in a piece of small ultra wire in sculpin olive to the far side of the hook.
Step 6
Take both ribbings and secure them back to the base of the floss tag. Leave your thread hanging at the base of the tag.
Step 7
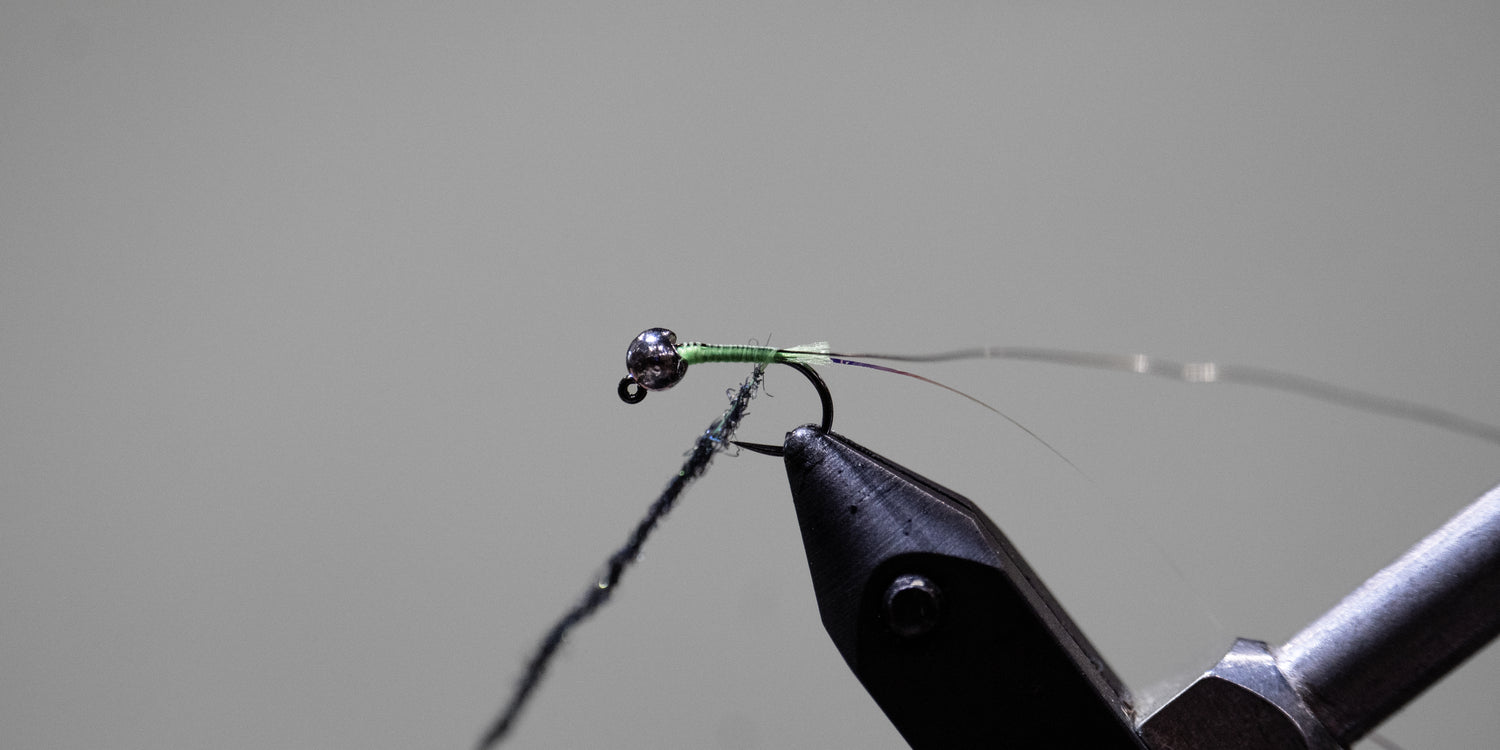
Take a pinch of SLF prism dubbing in peacock and form a slender dubbing noodle on your tying thread.
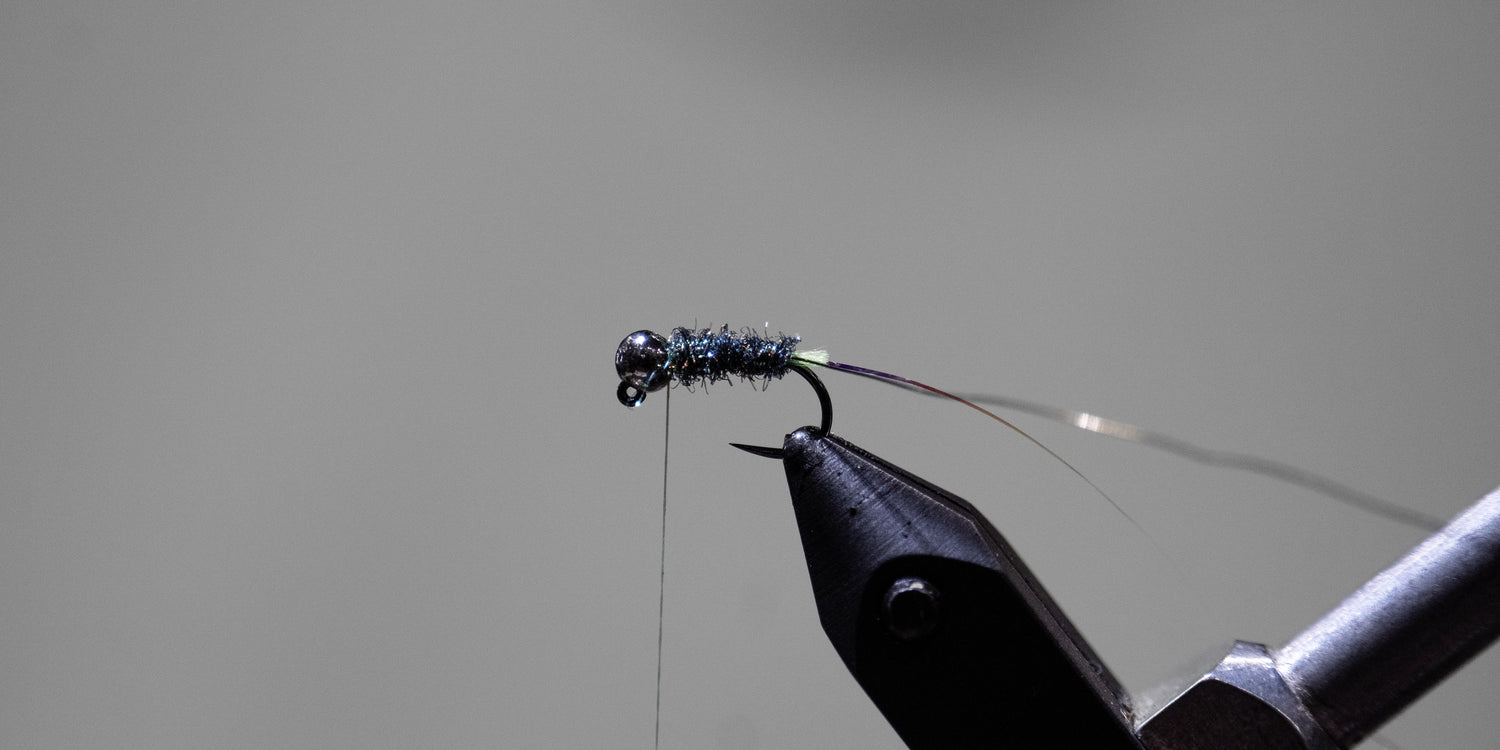
Wrap the body forward from the tag to just behind the bead.
Step 8
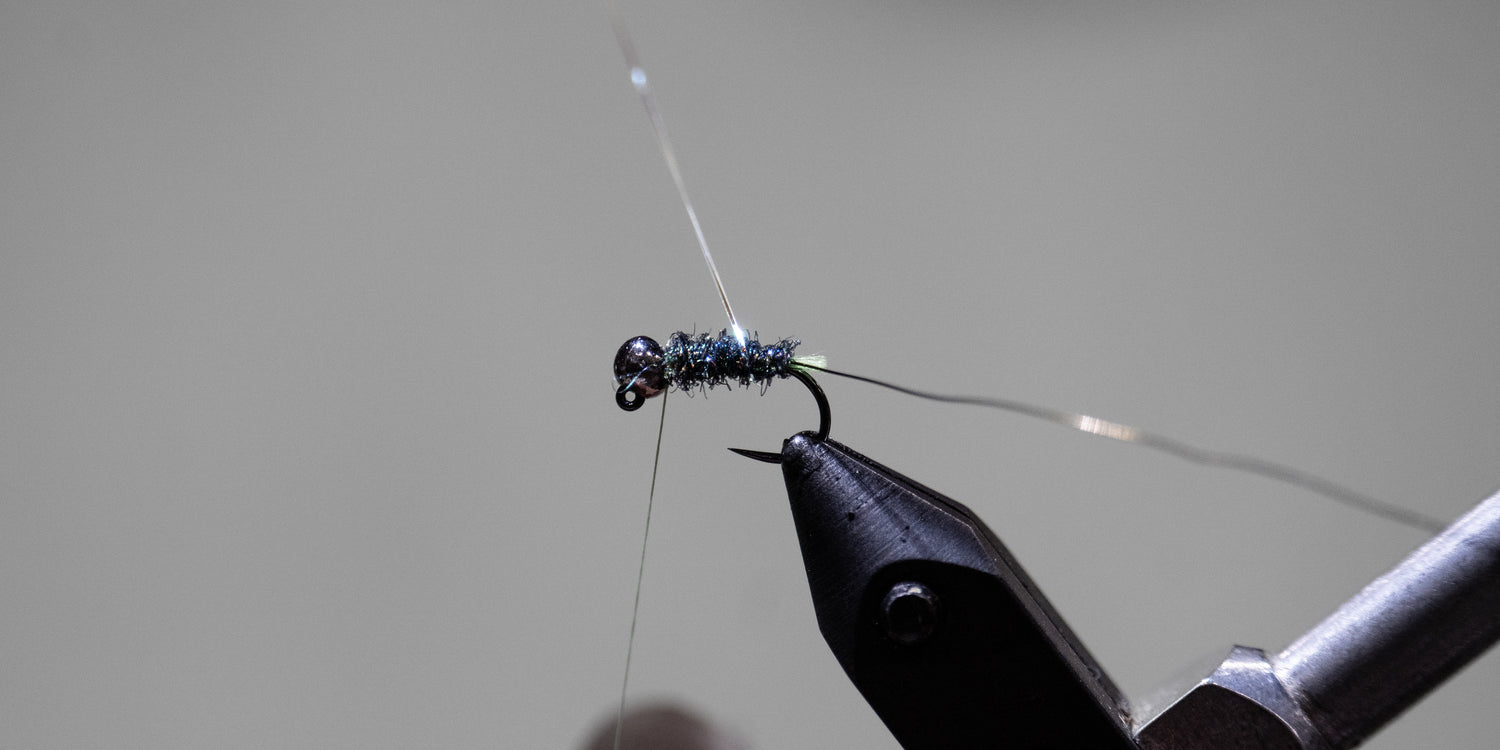
Counter wrap the micro flashabou using 4-5 wraps up the body. The first wrap should go under the hook shank. Secure the flash and cut the excess free.
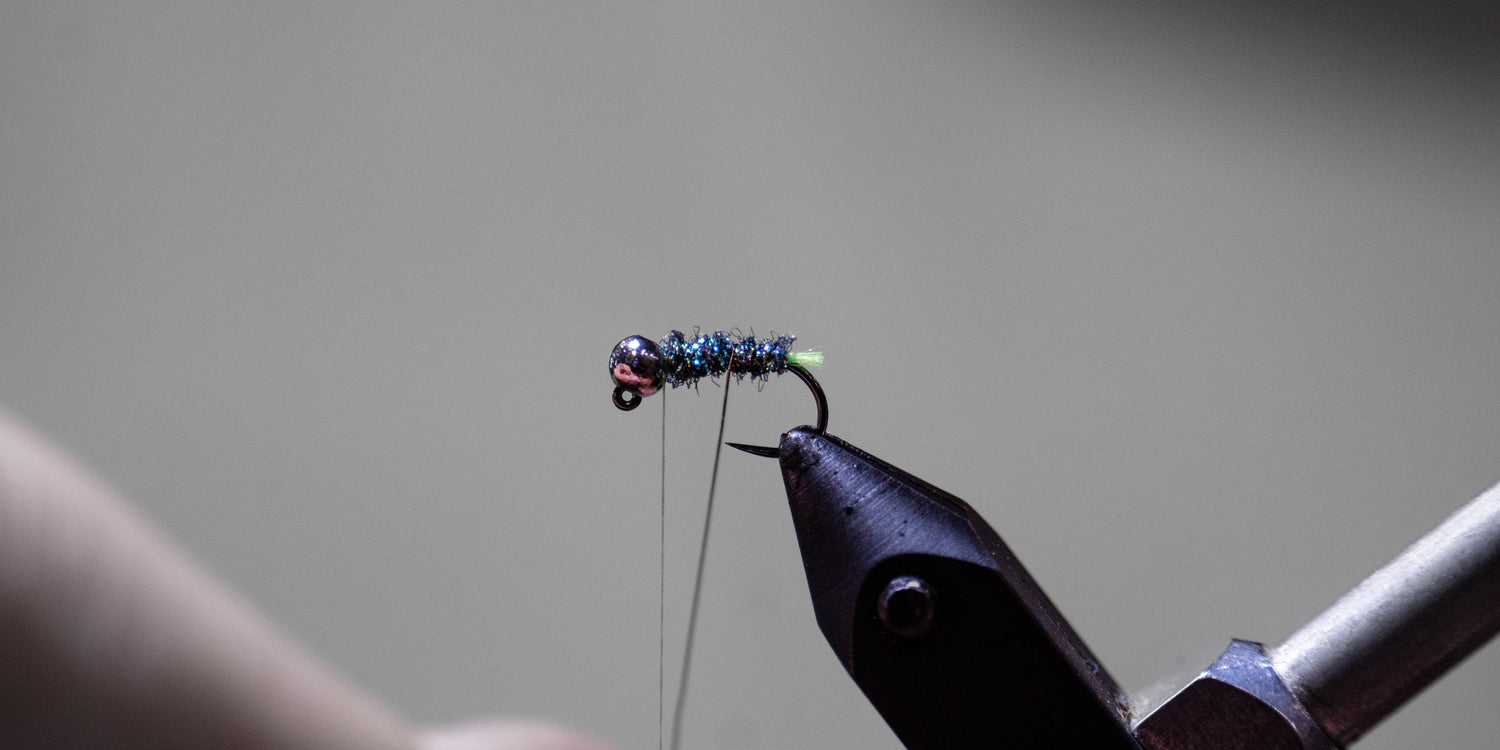
Step 9
Open spiral wrap the wire using 4-5 up the body to reinforce the flash. The first wrap should be under the hook shank. Secure and helicopter the excess free.
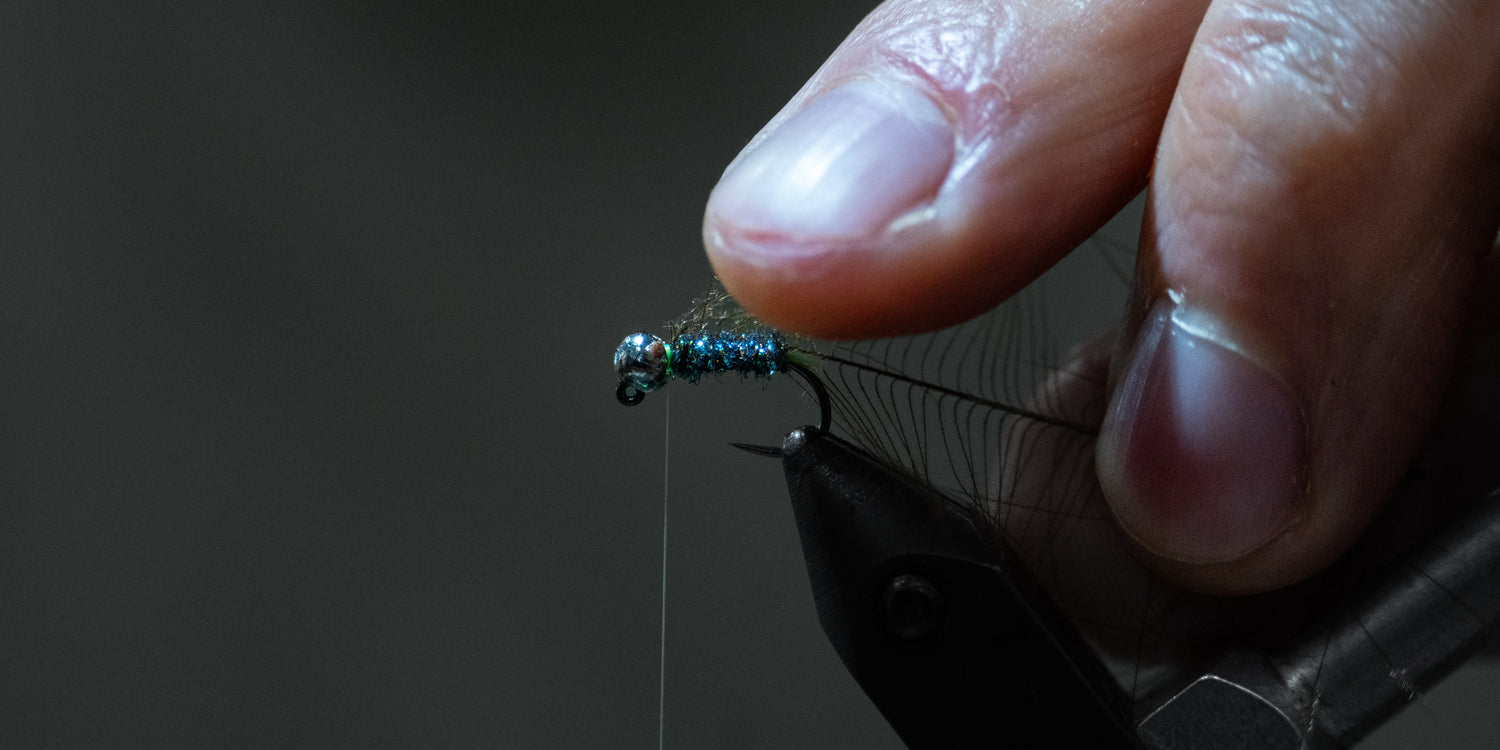
Step 10
Take a cdc feather and tie in the tip securely. Your feather should curve downward. Take your hackle pliers and latch on to the butt of the cdc stem. Raise the feather vertically and stroke the fibers back towards the hook bend.
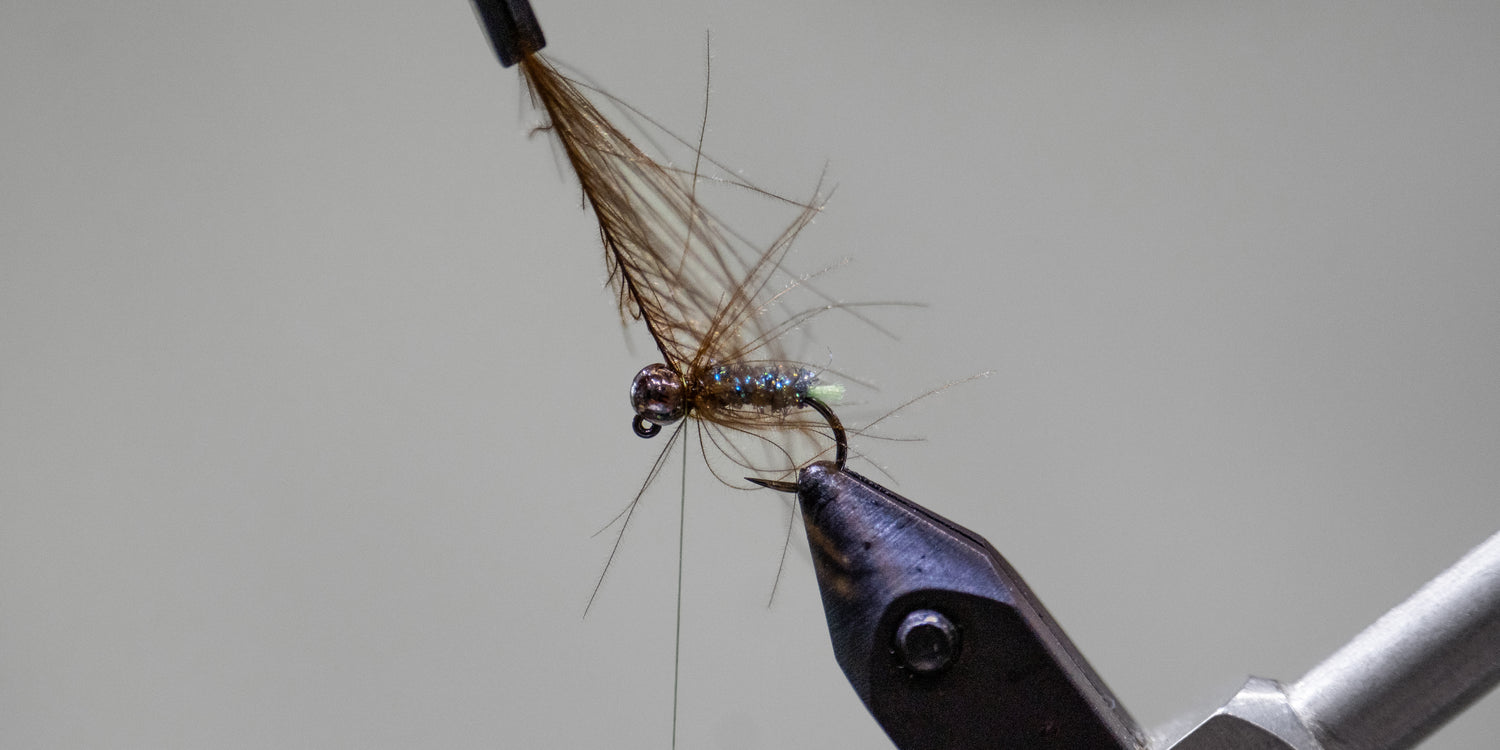
Take 2-3 wraps with the feather. With each wrap, make sure to preen the fibers rearward. Tie off the cdc feather and trim the stem out flush.
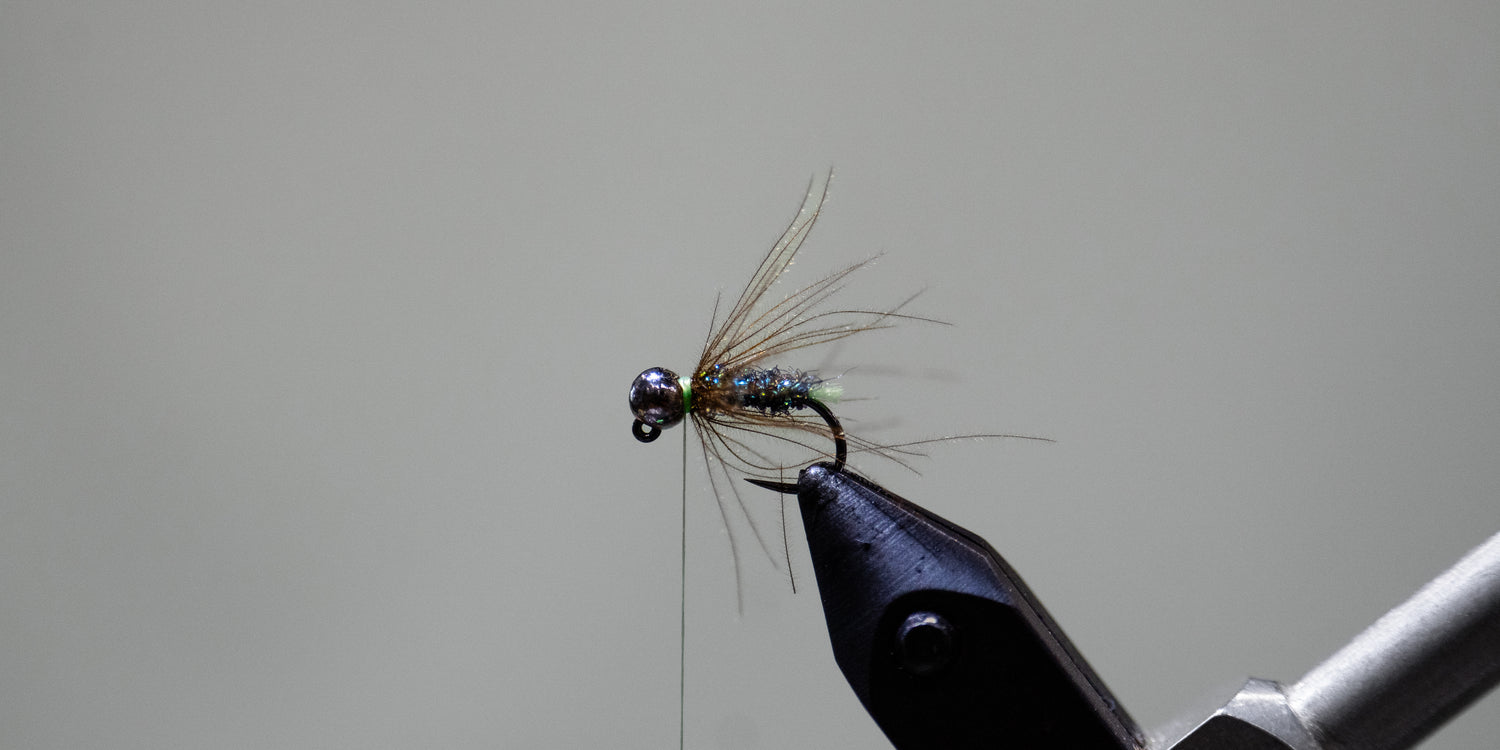
Step 11
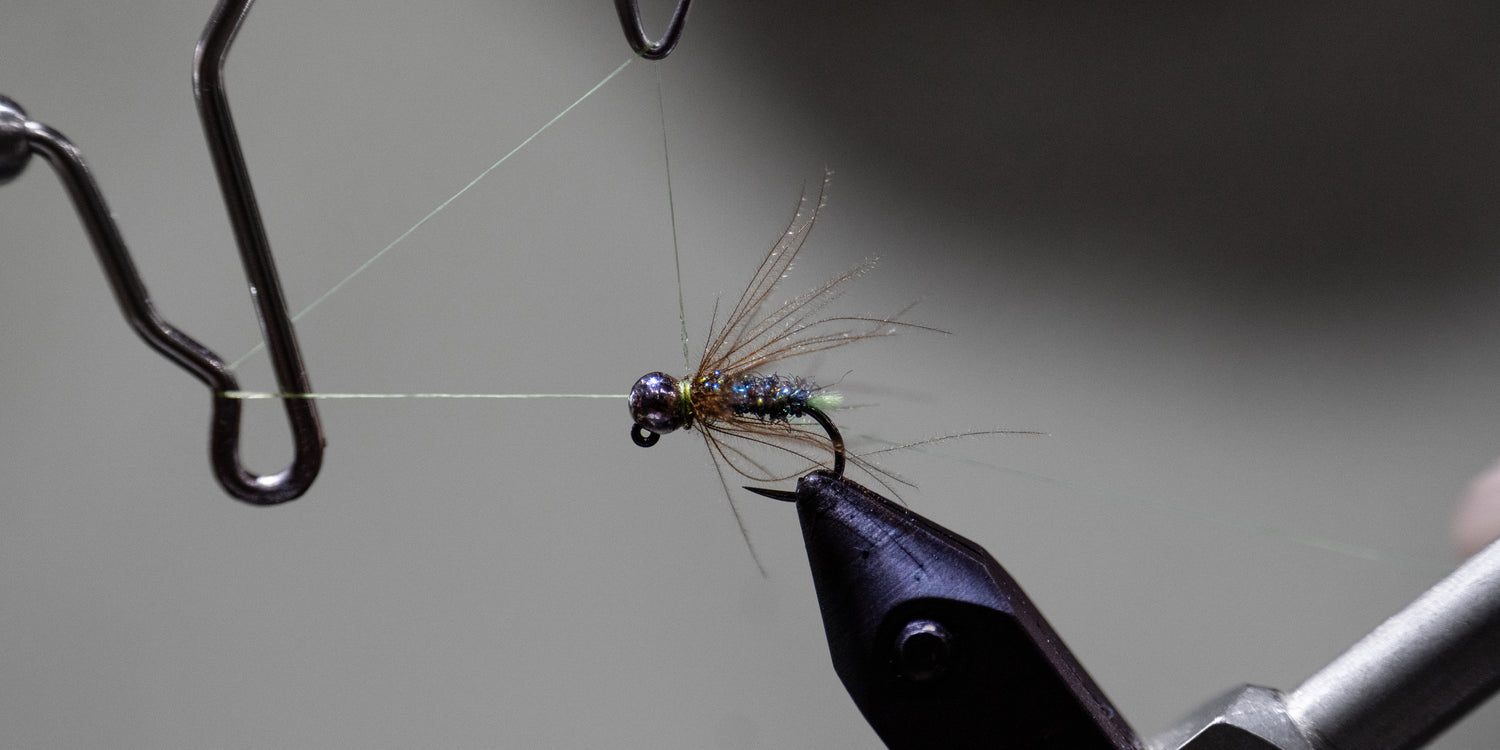
Take several wraps of thread to build up a fl green hot spot right behind the bead.
Step 12
Add a dab of super glue to the thread. Here I’m using Loctite. Take a few thread wraps and then do a quick 1-2 turn whip finish.
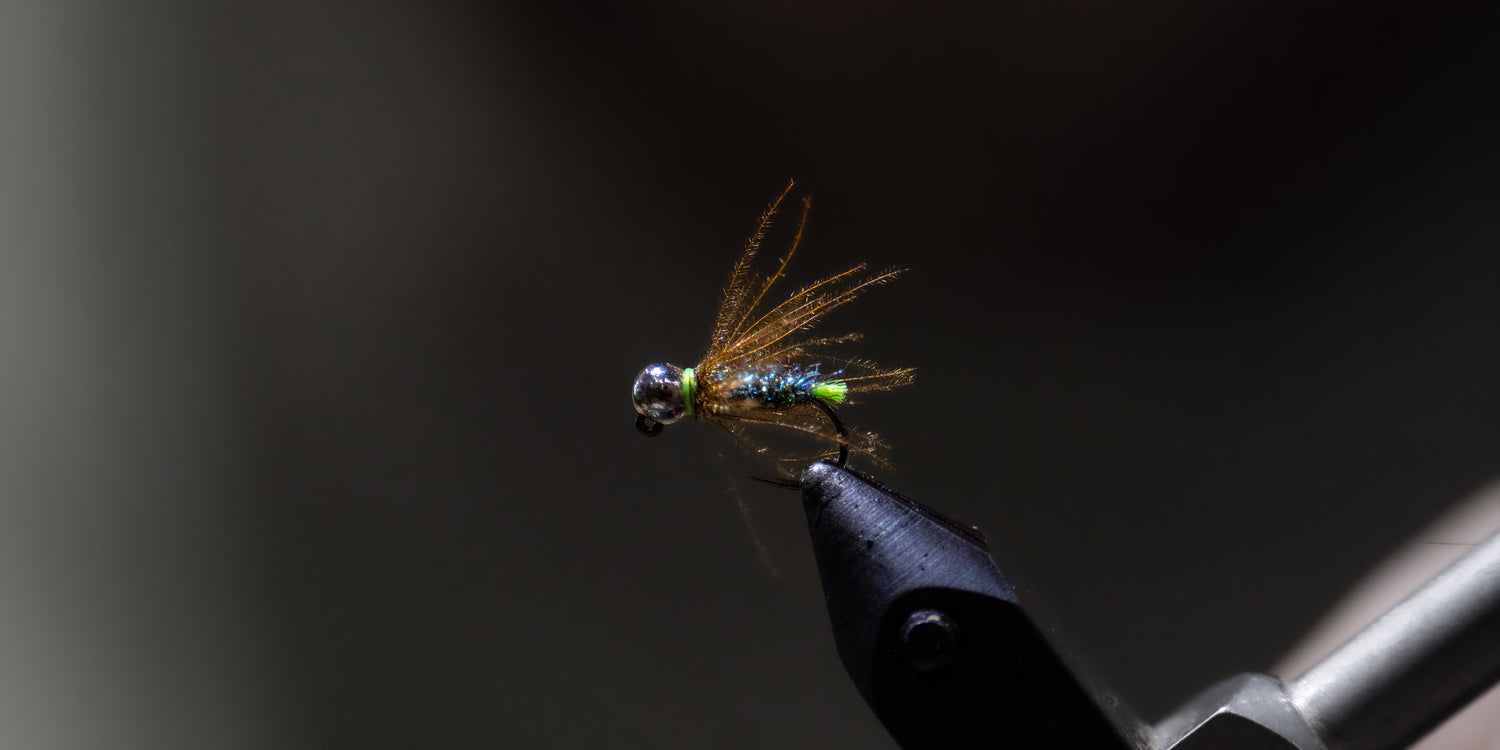
Cut your thread free.
TCO Fly Tying Class: Winter Time Midges with Jacob Gilliland
Learn to tie 3 simple, yet effective winter flies with Relentless Fly Fishing Guide and TCO shop employee, Jacob Gilliland. We will be covering 3 patterns. Flies will include the Zebra midge , Mercury blood midge and Frostbite midge. This class is for people of all skill levels.
When: Wednesday January 24, 2024 6PM
Location: TCO Boiling Springs
Length of Class: 2 Hours
Cost: $25
Number of Participants: 10

Leave a comment